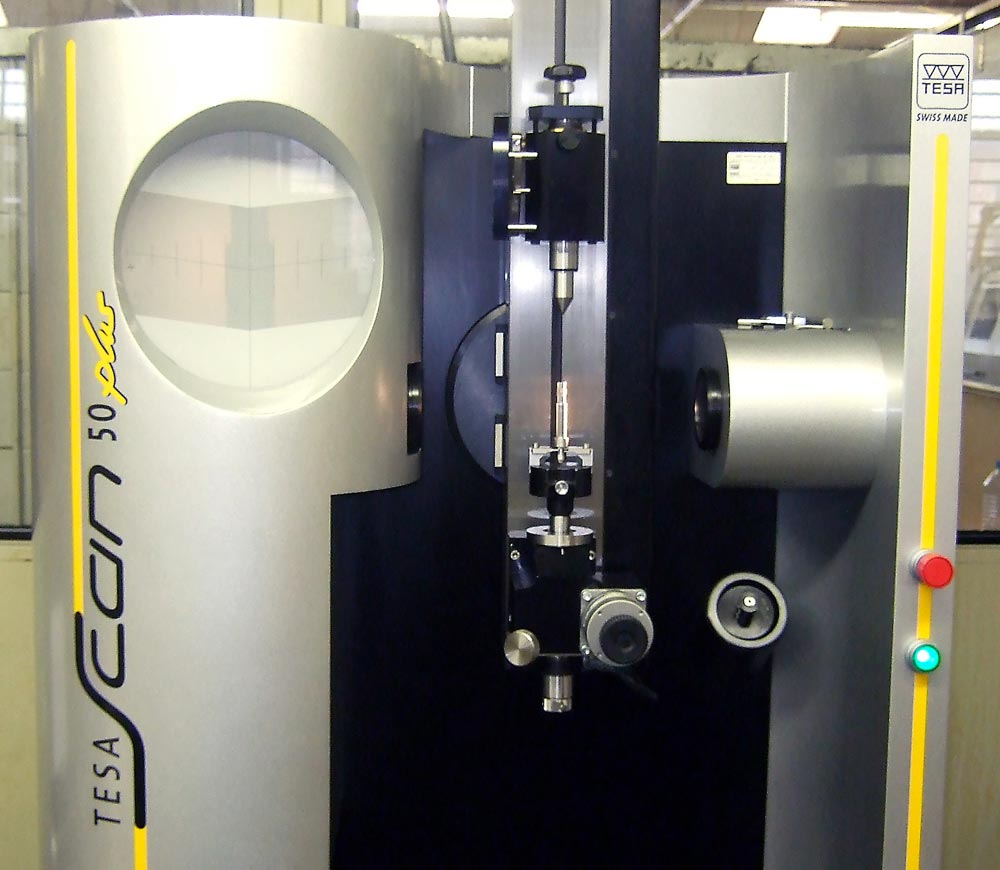
Some of the latest measurement technologies available, such as the Tesa Scan 50 profile measuring machine, are employed alongside more conventional projector and gauges to check your components during the machining cycle.
Advanced quality planning techniques are used to establish control plans for all your jobs progressing through the factory and ensures that PPAP packs can be meaningfully produced as supporting documentation where required.
Every time your turned part is set up for manufacture, an ISR (sample report) is independently produced by a quality technician to ensure that your component criteria are being met and samples retained during the life of the manufacturing time.
Ongoing regular checks by both production and quality staff during the machining process help to ensure that you get exactly what you want and SPC can be applied, if required, for either capability checks or ongoing production control for critical items and features.

